Figures and Images
Figures
In order to insert a figure, click the Insert Figure button: . This will let you select an image to upload from your computer. Once uploaded, the image will appear in your document as a figure with a label beneath the figure:
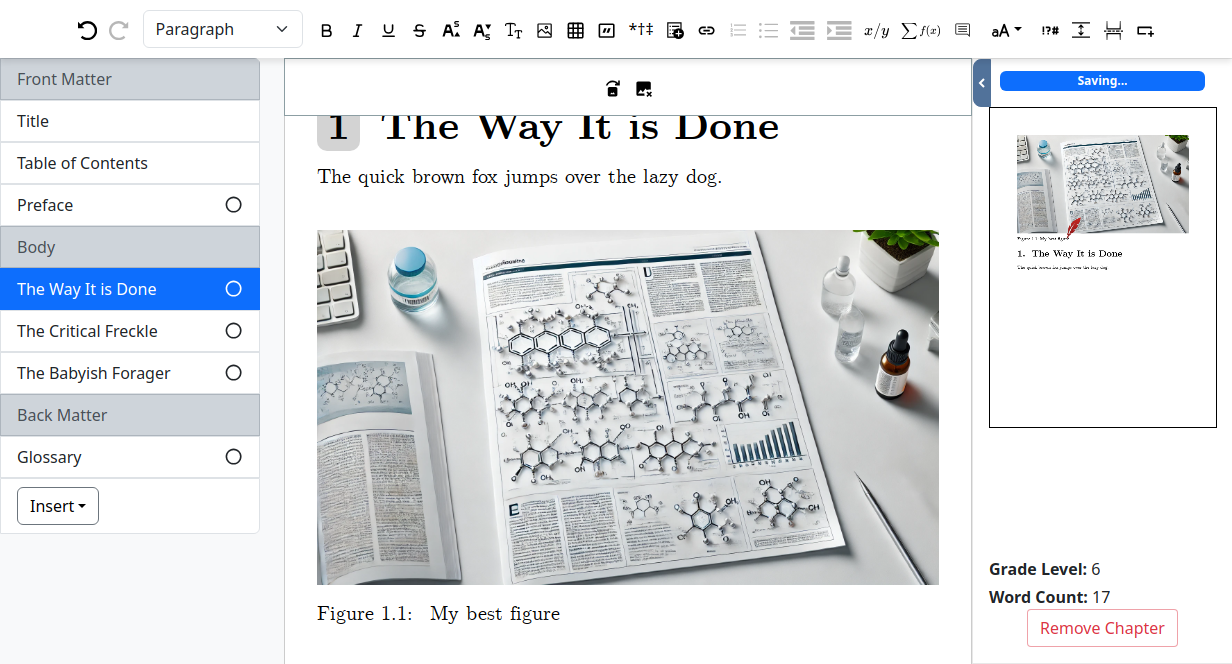
You can enter a caption for the figure by clicking on the caption label below the figure.
You can replace the image in a figure by clicking on the replace image button: .
You can remove the figure entirely using the remove figure button: .
You may insert a reference to a figure within your content by typing “Figure”. You will be presented with a dropdown where you can select the figure that you want to refer to. This will insert the name of the figure. Inkwell automatically updates this label as figures are added, removed, or moved.
Under Project Settings, Figures have three groups of settings, including Layout, Caption, and Label.
The Layout settings include:
Numbered By: Determine whether the figures’ numbering should be per-chapter or per-project.
Numbering: Displays the numbering format, which includes:
Numeric (Figure 1.1)
Alphabetic (Figure 1.a)
Roman Lowercase (Figure 1.I)
Roman Uppercase (Figure 1.I)
Greek (Figure 1.α)
Star and Dagger (Figure 1.*)
English Words (Figure 1.One)
Choose whether to display the Chapter Number as a prefix in the Numbering scheme
Top and Bottom Margin: Determine the amount of extra whitespace before and after the figure.
Gap: Amount of space between the figure and the label
Automatic Placement: If enabled, Figures will be moved to the top or bottom of the page so as not to interrupt the text.
The Captions settings include:
Alignment: Determines whether the caption is left-aligned, right-aligned, centered, or fully justified
Position: Moves the caption to either above or below the figure
Font: Over 1500 fonts available
Font Size: Determines the size of the font
Line Height: Determine the distance between lines, increase to produce double spacing
Bold or Italic
The Labels settings include:
Font: Over 1500 fonts available
Font Size: Determines the size of the font
Line Height: Determine the distance between lines, increase to produce double spacing
Bold or Italic
Images
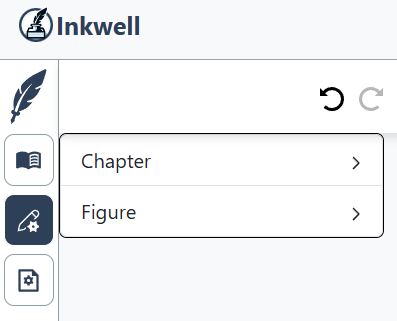
Any figure can be converted to an image, which can appear independently or as an inline image. To convert a figure to an image, click on the figure to select it, then click on the Local Settings icon along the left side of your screen.
Click on the Figure menu:
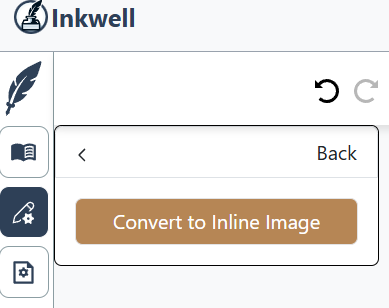
Next, click on Convert to Inline Image:
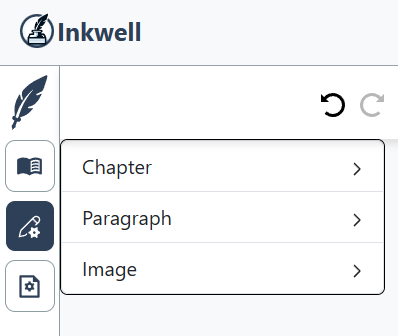
The figure becomes an image that can be resized if needed. To resize the image, click on it to select it, then click on the Image menu:
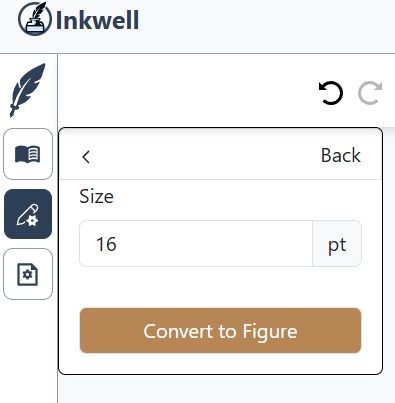
From here, you can resize the image by adjusting the point size either up or down accordingly. Click outside the size field to make the change.
To change the image to an inline image, simply place your cursor where you want the image to appear in the text and press the delete key until the image moves inline with the text.
You can convert any image back to a figure. Select the image by clicking on it, then click the Image menu in Local Settings and click on Convert to Figure (shown in Figure 10.5 above).

